
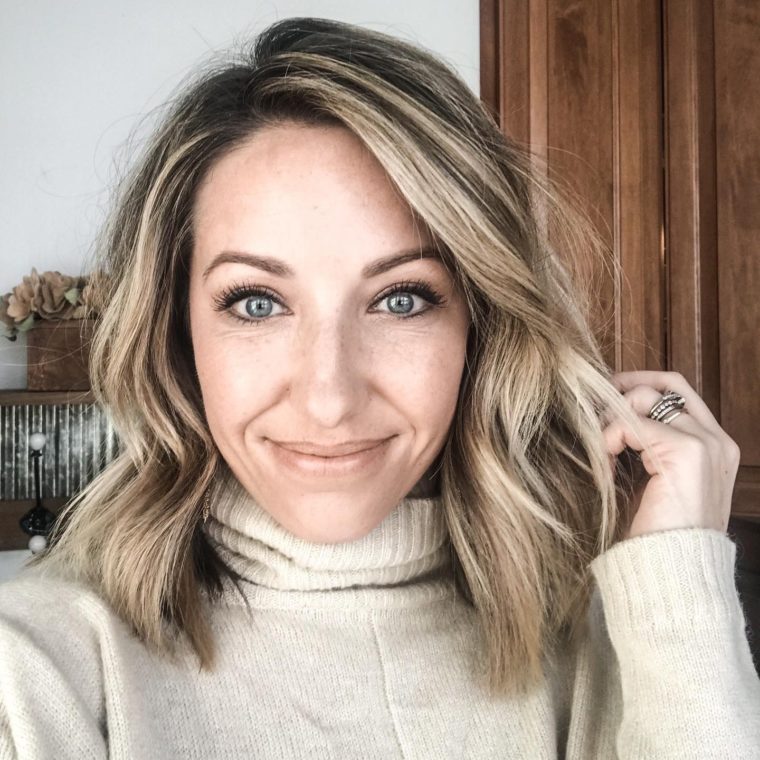
Alright first off, yes ANYONE, I mean ANYONE can do 5 Minute Makeup. All you need is the information on the how to and the products that will best suit your skin. It’s important to get to know your skin and use the products that will compliment it.
So here’s what’s in my 5 Minute Makeup Bag:
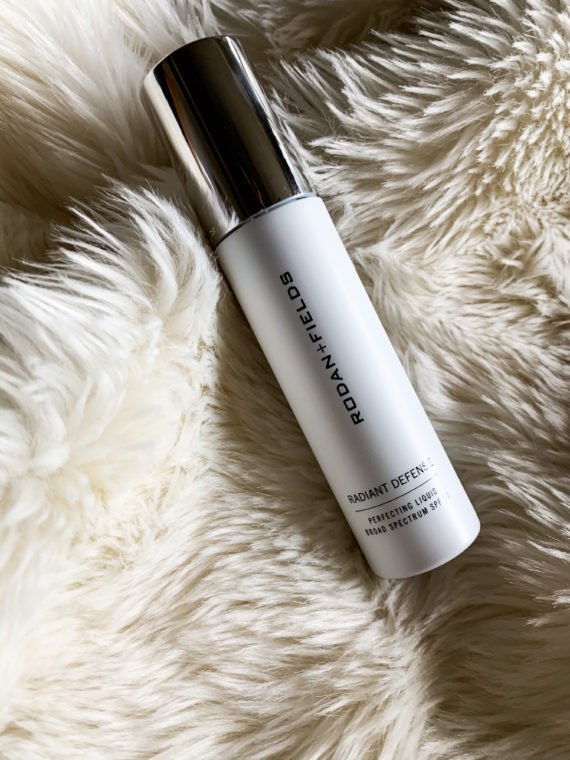
- Dermacosmetic, Rodan+Fields Radiant Defense in Sand.
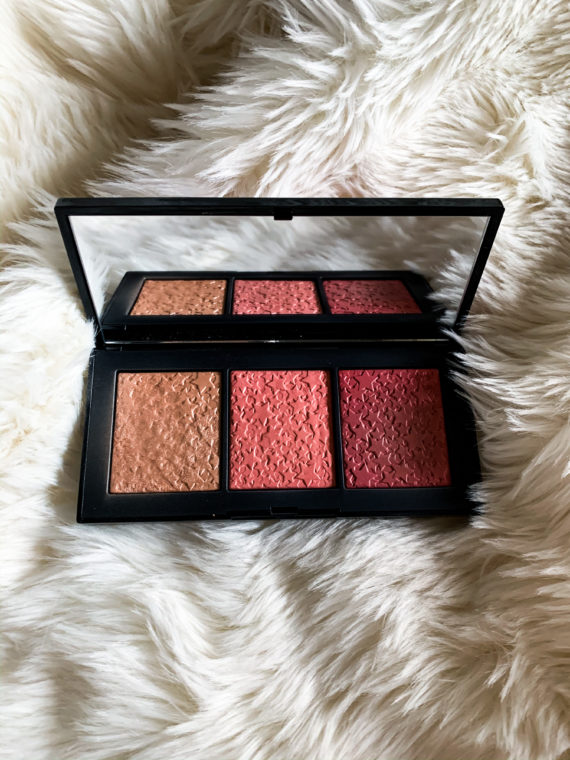
- NARS Blush Trio Star Scene Nars.
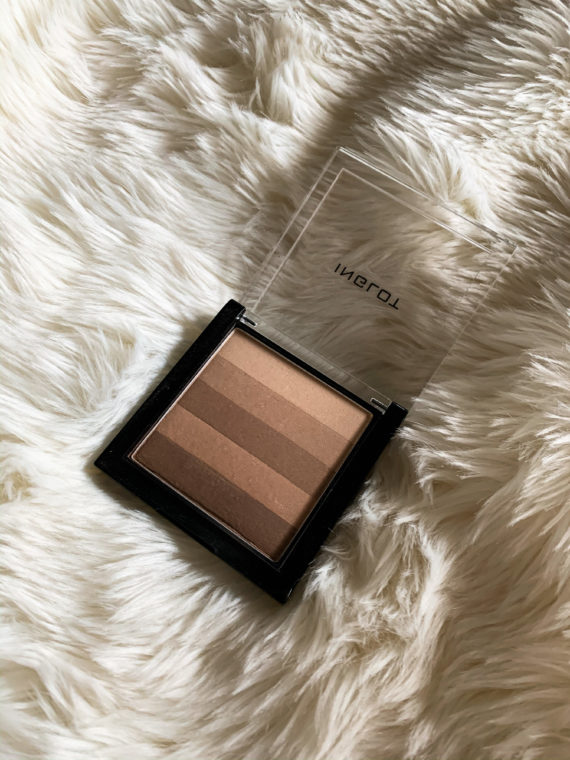
- Inglot Multicolour Bronzing Powder.
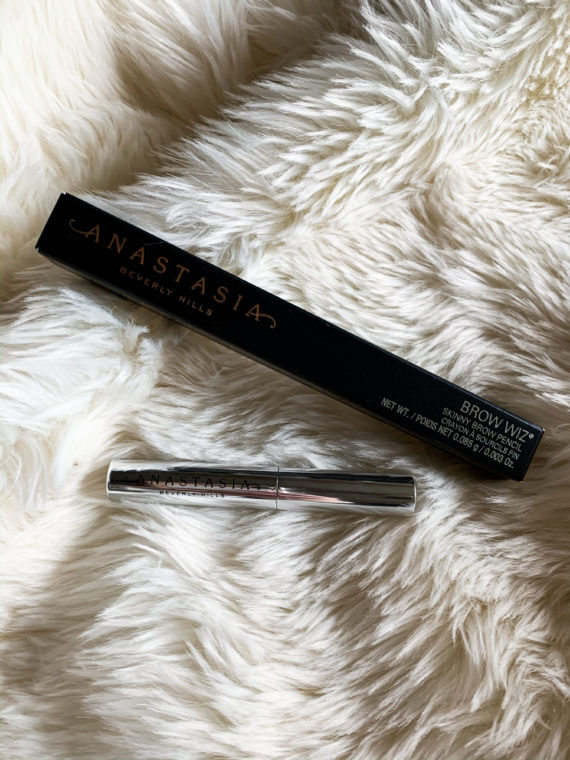
- Anastasia Brow Wiz in Soft Brown and Anastasia Clear Brow Gel.
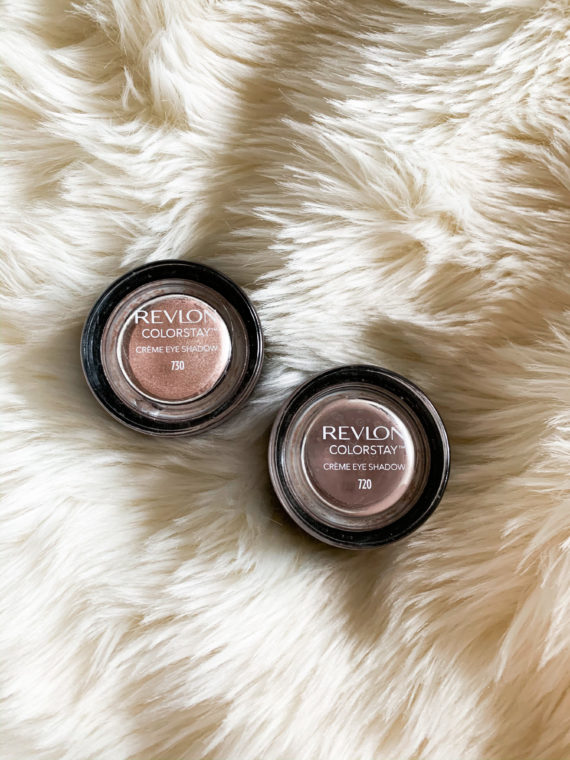
- Revlon Color Stay Creme Eye Shadows in 720 and 730.
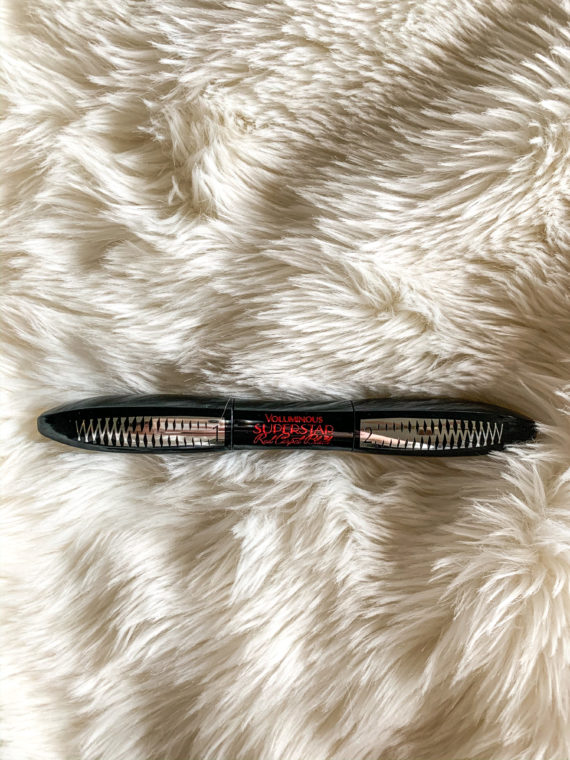
- L’Oreal Paris Voluminous Superstar Red Carpet Mascara in Black.
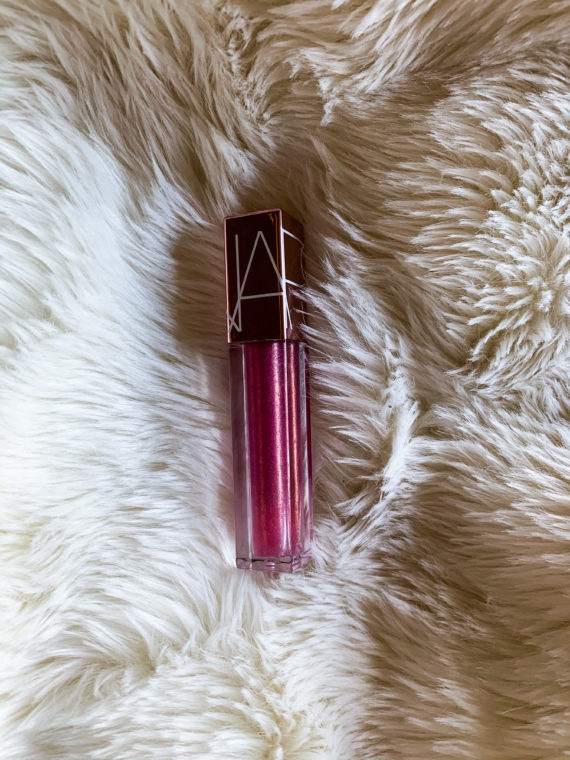
- NARS Oil-Infused Lip Tint in Orgasm.

Alright, your base. There are a variety of foundations and tinted moisturizers out there. Where do you begin? Well, I use a tinted moisturizer or in this case, it’s called a Dermacosmetic. I love the light, yet buildable coverage it gives my skin. It creates a clean even skin tone, but yet covers so lightly that it looks and feels as though I have no makeup on. For me, it’s Rodan+Field’s Radiant Defense Perfecting Liquid. I’ve used a-lot of makeup brands over the years and I really LOVE this product. It not only looks good on, but also addresses skin concerns that I have while I’m wearing it. I put pea size dots on the forehead, cheeks, and chin. I blend with a good foundation brush and then use my damp Beauty Blender to press the product into the skin. A budget friendly Beauty Blender is the Beakey Foundation Blending Sponge!
This NARS Star Scene Cheek Palette is perfect for quick applications and travel. It has your day and night look and highlighter all in one. It’s unfortunately a Holiday Palette, so it’s now a little more difficult to find, but here is an alternative palette, The Nars Afterglow Overlust Cheek Palette. This one actually has three blushes and three gel-to-powder highlighters. To apply, use an angled blush brush or fingers and begin on the apples of the cheek, feathering back if using the brush or dab and rub with fingers towards the outside of the face. Remember a little goes a long way and you can always add more. For daytime, I use the lighter and brighter color. For a transition to night, I apply the darker blush right over the top adding a little more color. Next using a flat head kabuki brush, I apply the highlighter to the tops of the cheeks, right above the blush.
For the bronzer, I use the Inglot Mulitcolor Bronzing Powder. I love the diversity of this little palette. Being able to use light or dark or a mix of the tones for contouring is key. I use a stippling brush to create a soft blended look, so the bronzer doesn’t create any sort of sharp unblended lines on the face. I take the brush and sweep it across the entire palette, blending the tones for a more user friendly contouring. If you’re looking to get a more dramatic look, then stick with the darker tones. I then lightly apply the bronzer right under the blush or on the underside of the cheekbone.
Eyebrows are my must before I leave the house. They can completely change your look based on shape and color. First off, don’t over pluck them and DO NOT TRIM your eyebrows. I use the Anastasia Clear Brow Gel to help place them so there is no need to trim. I brush my eyebrows in an upward direction with the gel brush and then let them dry. After they dry, I fill in any sparse areas using the Anastasia Brow Wiz Pencil in Soft Brown. Pick the color that is one shade lighter than your natural hair color so when you fill in your brows it’s natural looking. Also, try not to outline the brows. We don’t want it to look like we drew them on. The goal is to create hairlike strokes to fill in the brow to give it the most natural look as possible. I finally do one more coat of the Clear Brow Gel to finish off the shape I want.
I love using the Creme Eye Shadows. They are easy to use, blend easily and last all day! I use Revlon ColorStay 720 and 730. The 730 is a neutral nude color with a little shimmer in it. I use this all over the eyelid all the way up to my brow. The 720 is my darker matte color that I use in the crease of my eyelid, as well as along the top lash line. The easiest way to apply these creme shadows is honestly your ring finger. By using your finger, you are able to blend the colors together very easily. Done!
Lastly, dress up those lashes. So I actually use more than one brand of mascara depending on the look I am going for. Since this is my quick 5 Minute look, my go to is L’Oreal Voluminous Superstar Red Carpet in Black. It has the primer and the mascara in one tube. Why a primer? Well, it coats the lashes with keratin that works with the mascara to avoid clumping, it separates the lashes, and it also increases the volume and the length. I put the primer on, then follow immediately after with the mascara. I’m a two coat kind of gal, so I do one eye, then the other and then repeat, but only putting primer on prior to the first coat.
Final touches! I sweep over my face one more time with a large powder brush, but with no powder. I want to keep that dewy natural look. If your skin has a tendency to get more oily throughout the day though or your’e looking for more of a matte finish, my favorite finishing powder is MAC’s Prep & Prime Transparent Finishing Powder. It’s clear, so it looks so much more natural and can go with any skin tone. Lastly, lips. I like a subtle tinted gloss for my finishing touch. My absolute FAV is NARS Oil-Infused Lip Tint in Orgasm. It’s soft yet gives a little something extra.
Another quick tip before any makeup goes on. Dermaplane people. Dermaplaning takes your makeup game to a WHOLE new level. Whether you do it yourself or do it in the spa, do it. Here are just a few of the benefits…
- Provides deeper product penetration.
- Removes soft facial hair that traps dirt and oils.
- Promotes smoother skin.
- Safe procedure for removing dead skin cells and “peachfuzz”
- Reduces the appearance of acne scars.
- Diminishes the look of fine lines.
Below I have pictured the Michael Todd Sonicsmooth. This is the one I personally use and love. It’s super user friendly and doesn’t break the bank. I probably use it once every two weeks, but can differ on the rate of hair growth. Also, as always, do a little test area, side of face in front of the ear, to make sure it doesn’t irritate the skin.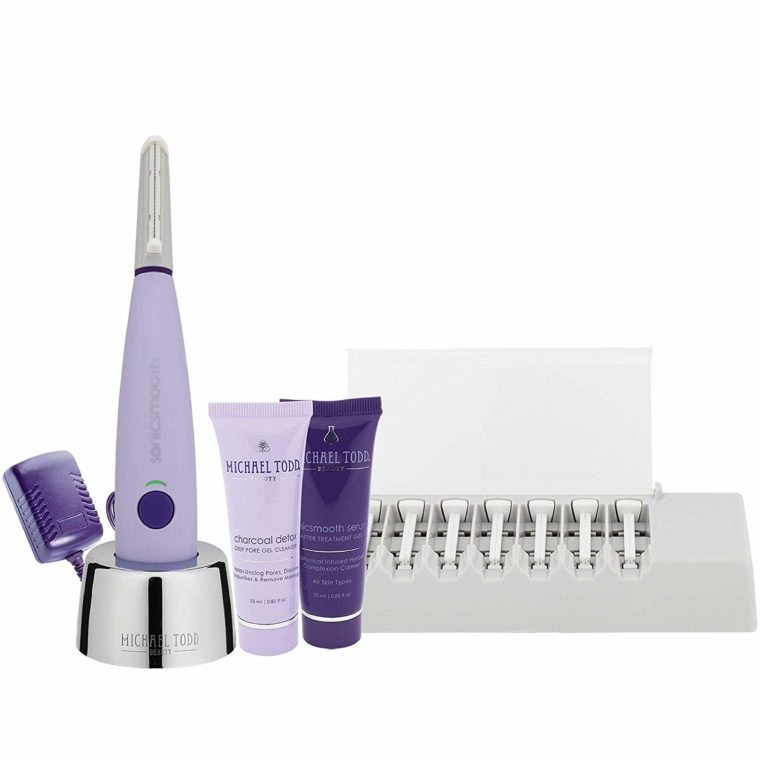
And there you have it! My 5 Minute Face! Once you get these steps down you will LOVE how quick and easy this can be. So, put on your sweatpants, get comfy and give your 5 Minute Face a shot.
Until next time.
-Briana